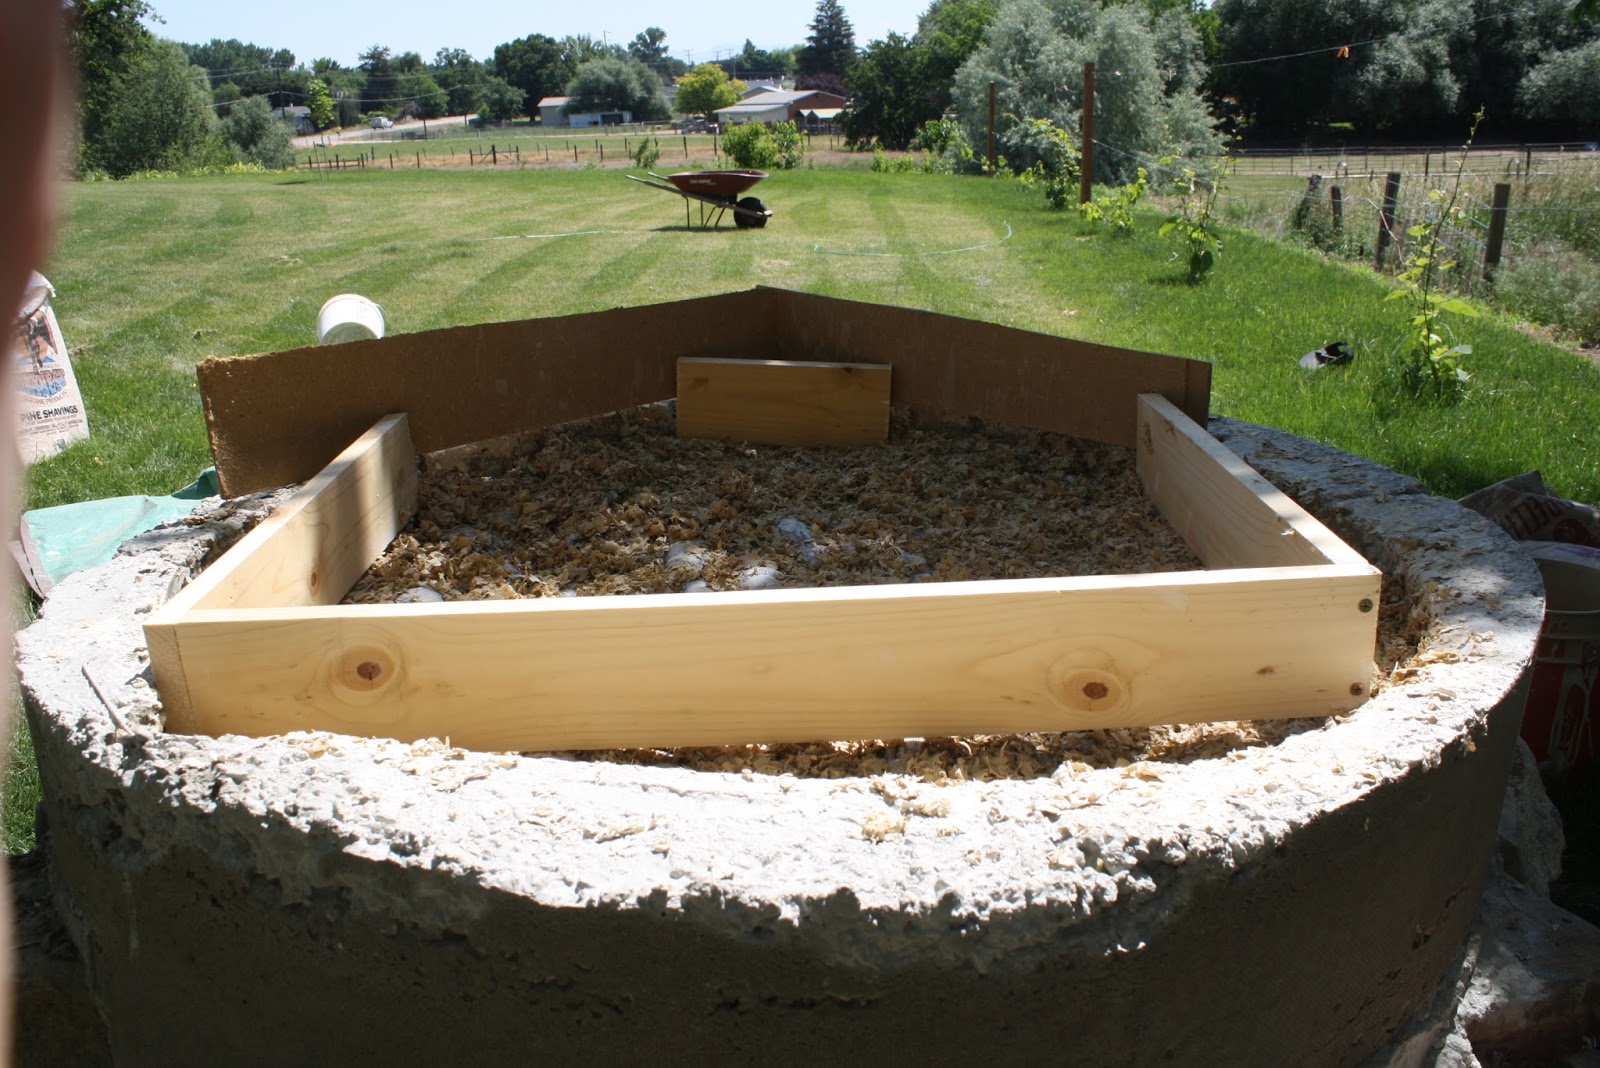
The cooking surface is one of the most important parts of your oven. If you get it wrong you will be fighting it for the life of the oven. After I created the ring and insulation layer I built the frame for my heat sink or thermal battery. This is a 4-5 inch thick slab or equal parts sand and clay. I wanted something that would hold heat and be solid. It does not look like it but this is actually level.
I filled the mold with the sand and clay mixture really working hard to pack it into the corners and crevasse. I am sorry I did not get a photo of it after we took the framing off. It took a week to 10 days for it to completely cure. In that process it did crack in a very minor way and dried in unevenly giving a slight wave to the cooking surface. I took a couple of bricks and used them like sand paper to smooth out the surface .
After I laid out the bricks. This is harder than it looks. There is an extensive chapter in the book telling you how to do it. It is best to read them practice. In these photos surface is very tight and level except for on corner that took me over an hour to get level. Then I was so frustrated I forgot to take a photo and just started to create the mold.
I wanted a brick archway so I created on. I used a couple of piece of OSB to make the mold.
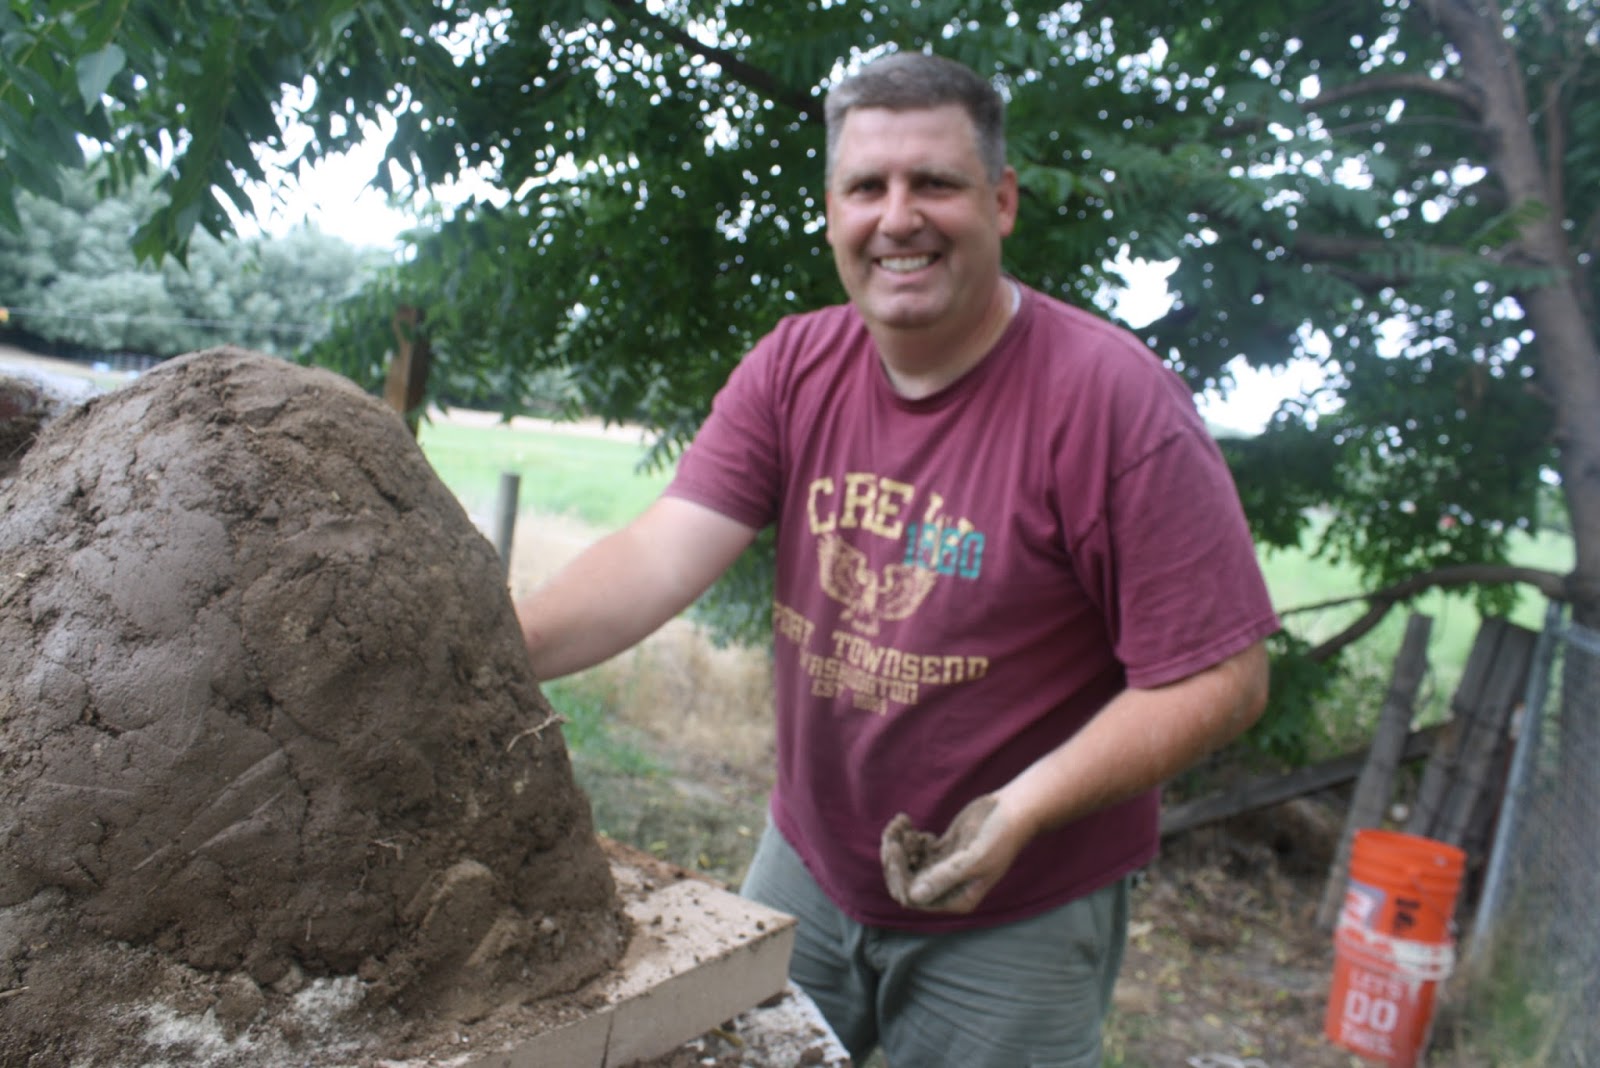
We used mud and dirt to make the dome. I did this because it is what I had on hand. The book calls for sand to make the dome. I would use sand next time. It was much harder to get the dirt out once it had a week or two to dry out.
Once we got enough dirt to make the mold and fill in the doorway we started to shape the dome. I used a piece of scrap 2x4 and a bucket of water to keep the soil workable.
Them came the clay. I ended up doing this twice because my first batch had to little sand. You really want a 3 or 4 to 1 ratio sand to clay. This is also the most fun part of the process. The clay is wet and sticky and totally fun to play in. But do plan a cold shower with a garden hose before you are done to get the clean up process started.
After we got the clay mixed I covered the dome with wet newspaper. This is to create a barrier that you will recognize when removing the dirt from the inside of the dome.
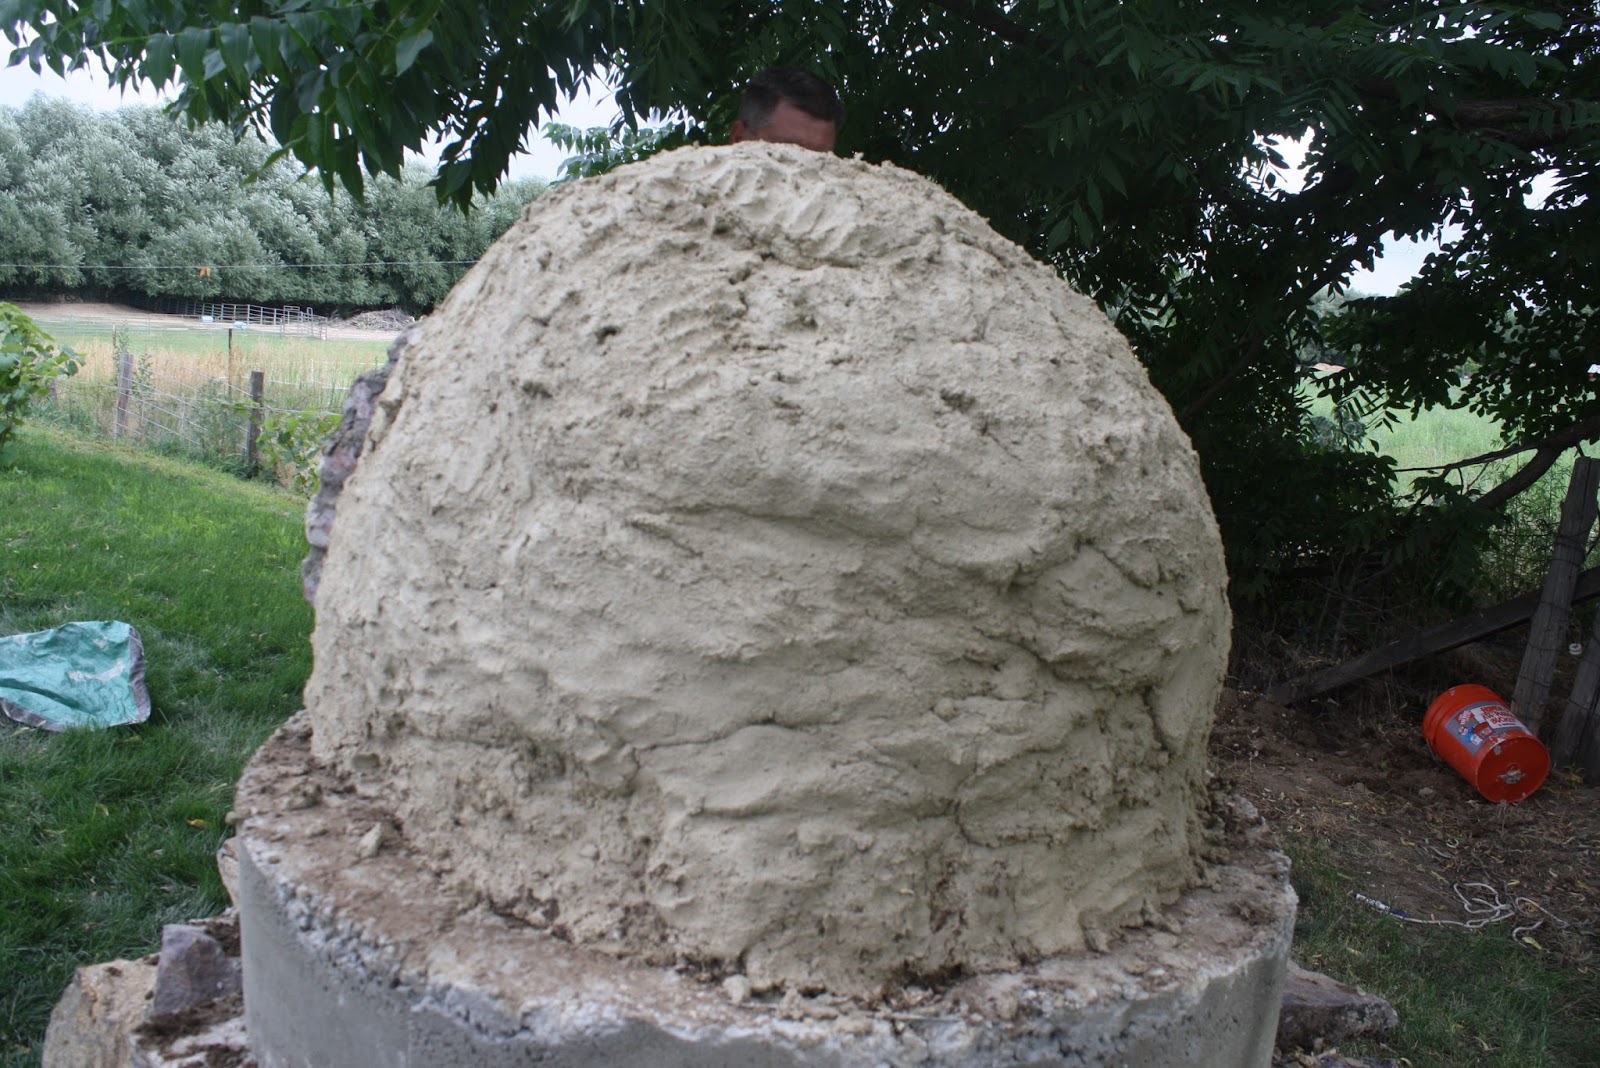
The clay dome is important this is what will trap the heat and actually cook your food. It is also structurally what will hold the other layers of the oven. The book called for a 2-3 inch thick layer of clay. I actually did my 5-6 inches thick. I wanted to make sure there was significant thermal mass. You simply start at the bottom and start layering up around the paper covered mold.
The consistency of the material was very important. You had to make sure the sand and clay were completely mixed and there was not to much water or it would slump off.


